
Step Two: Import Video Into iMovie HD
iMovie HD can transfer, or
import,
video in many video formats and from many different
types of camcorders, including DV camcorders (including those that support
widescreen) and high definition (HDV) camcorders. In most cases, iMovie HD can
automatically recognize and import the video you’re using, so you don’t have to pay
attention to video formats.
In this step, you will import your own video into your iMovie project. If you have a
camcorder with a FireWire connection, follow the instructions to connect your
camcorder and import the video using the capture controls in iMovie HD. If you have
another type of digital video device or have footage in a file on your computer, see the
instructions on page 13.
To import video from a camcorder:
1
Set the camcorder to VTR mode (some camcorders call this Play or VCR) and turn it on,
if necessary.
2
Connect your camcorder to your computer using a FireWire cable.
Chapter 2
iMovie HD Tutorial
11
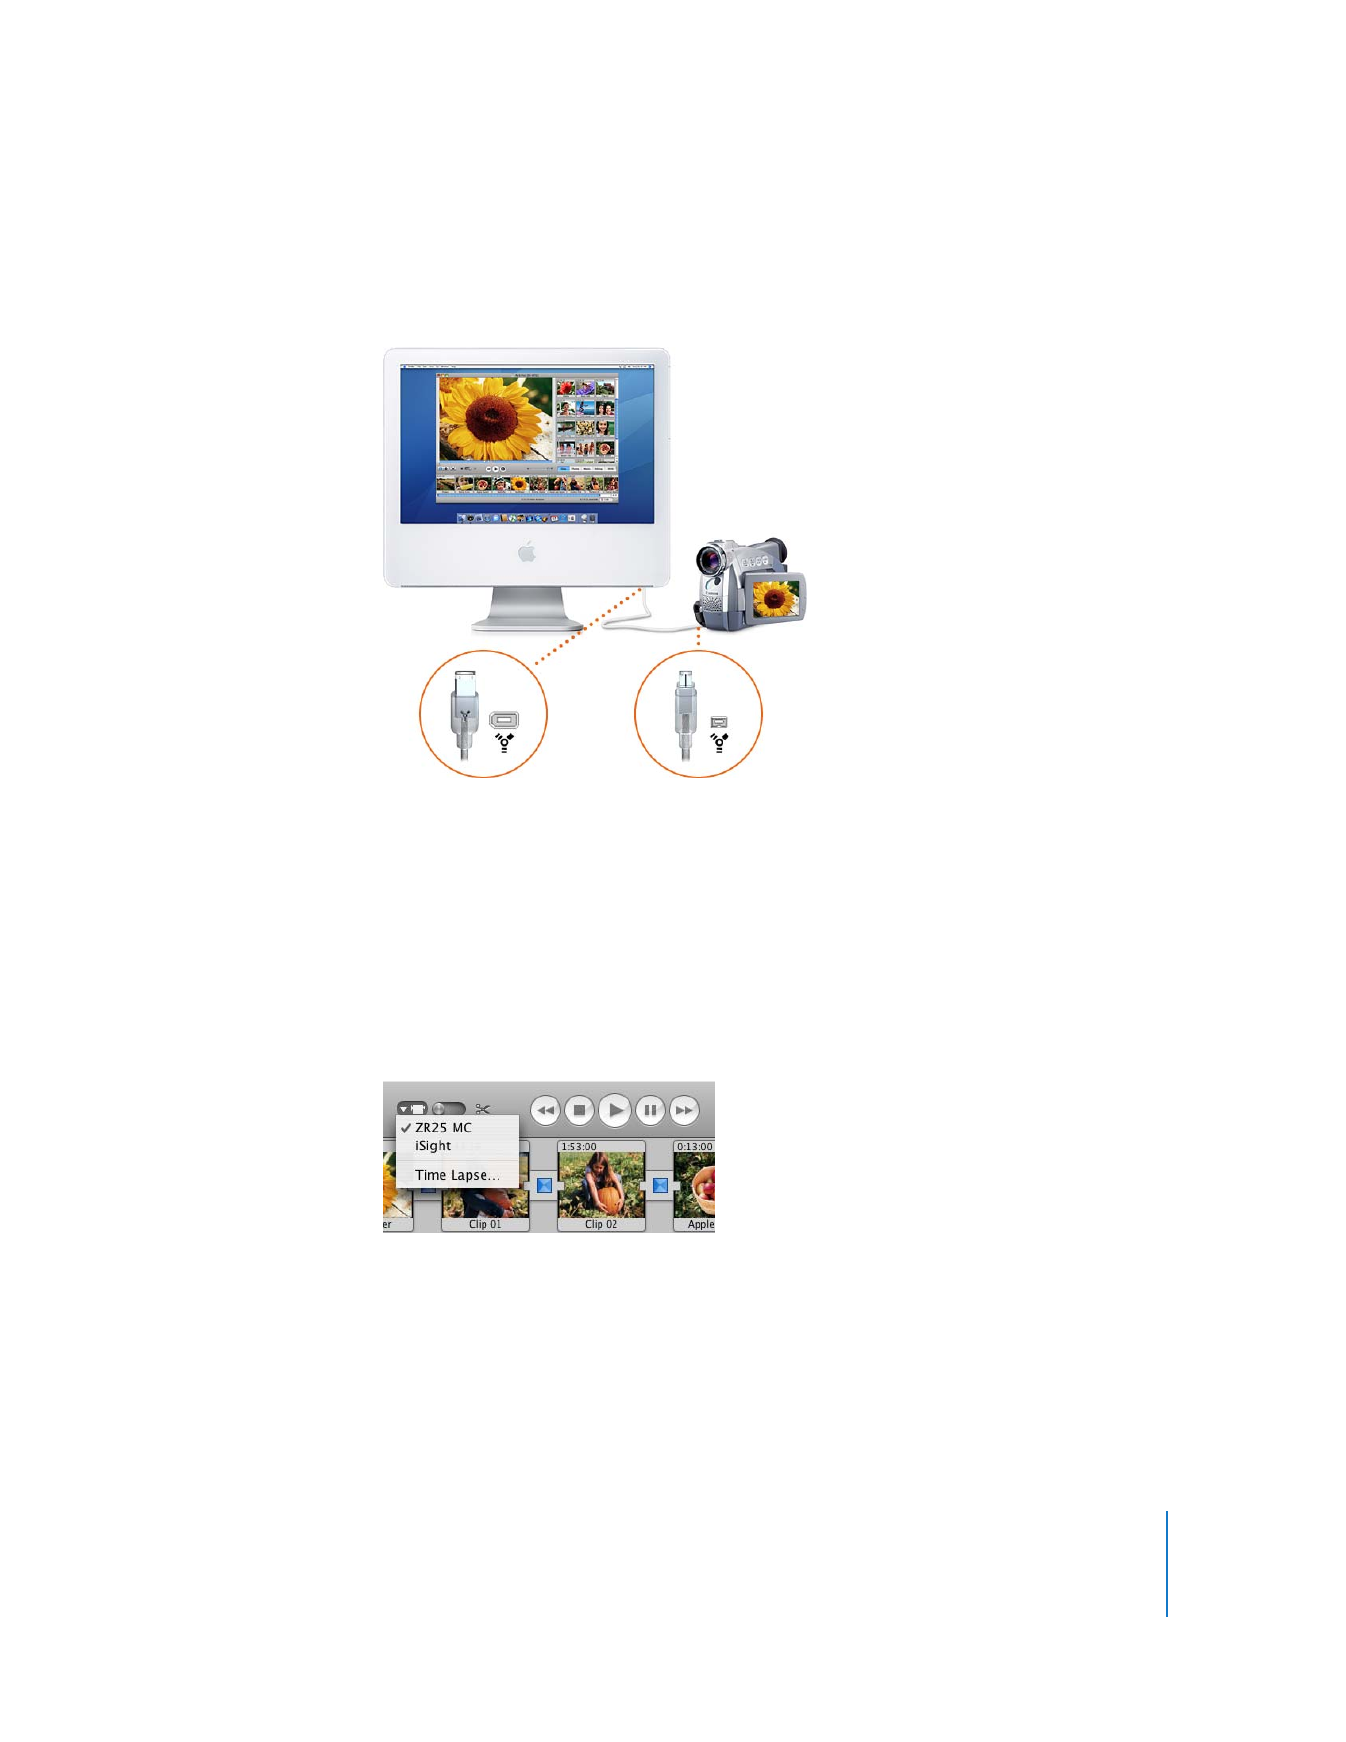
If your camcorder uses a dock, connect the dock to the computer and place the
camcorder in the dock. The illustration below shows how to connect a camcorder to an
iMac using a FireWire cable.
3
In iMovie HD, click the mode switch (shown below) to set iMovie HD to camera mode.
Note:
You must have a camcorder connected and turned on to be able to switch to
camera mode and see the capture controls. If you’re having trouble getting your
camcorder to communicate with iMovie HD, click the Connection Help button in the
iMovie monitor. It connects you to useful information in iMovie HD Help.
If you have more than one camcorder, or a camcorder and iSight are connected,
choose your camcorder from the pop-up menu that appears when you switch to
camera mode.

12
Chapter 2
iMovie HD Tutorial
4
Use the capture controls shown below to review your tape in the iMovie monitor.
5
Rewind the tape to a few seconds before the point where you want to start importing.
6
Click Play.
7
When you see the frame where you want to begin importing, click Import (shown
above) or press the Space bar.
During the import process, the footage plays in the iMovie monitor. You can import all
the footage, or just parts that you choose.
8
Click Import again or press the Space bar when you want to stop importing.
∏
Tip: To adjust the volume of your computer while you’re working in iMovie, use the
volume slider below the iMovie monitor. This slider doesn’t increase or decrease the
level of sound that viewers of the video will eventually hear. It only changes the
volume on your computer as you play and listen to your audio.
9
When the footage you want is captured in the Clips pane, turn off your camcorder and
disconnect it from your computer.
Rewind
Import
Fast forward
Pause
Stop
Play

Chapter 2
iMovie HD Tutorial
13
As you import your video footage from a camcorder connected via FireWire, iMovie HD
detects where you made a break in recording and automatically divides the video into
separate scenes, or “clips.” Each sequence of recorded video is then made into a video
clip that is stored in the Clips pane, shown below.
∏
Tip: You can use iMovie HD Preferences to change import settings, such as where
imported clips go, whether iMovie creates new clips at scene breaks, and more. To see
the settings you can adjust, choose iMovie HD > Preferences and click Import.
In addition to transferring video from your camcorder, you can import video from a CD
or DVD, or from other locations on your computer’s hard disk.
To import video from a disc or other location:
1
Choose File > Import.
2
Locate and select the file you want to import.
3
Click Open.

14
Chapter 2
iMovie HD Tutorial
You can also drag files from your desktop or from applications like iTunes or iPhoto to
the Clips pane. In iMovie HD 6, you can also drag, copy, and paste clips from one
iMovie HD project to another.