Step Three: Choose the Video You Want to Keep
To pare down your video to the best shots, you’ll play through each clip and cut, or
“crop,” the footage. Each second of video is made up of many separate pictures, or
frames. You can play each clip all the way through, or play frame by frame to find the
exact moments where you want to crop.
In this step, you will preview the clips you imported and crop or delete unwanted
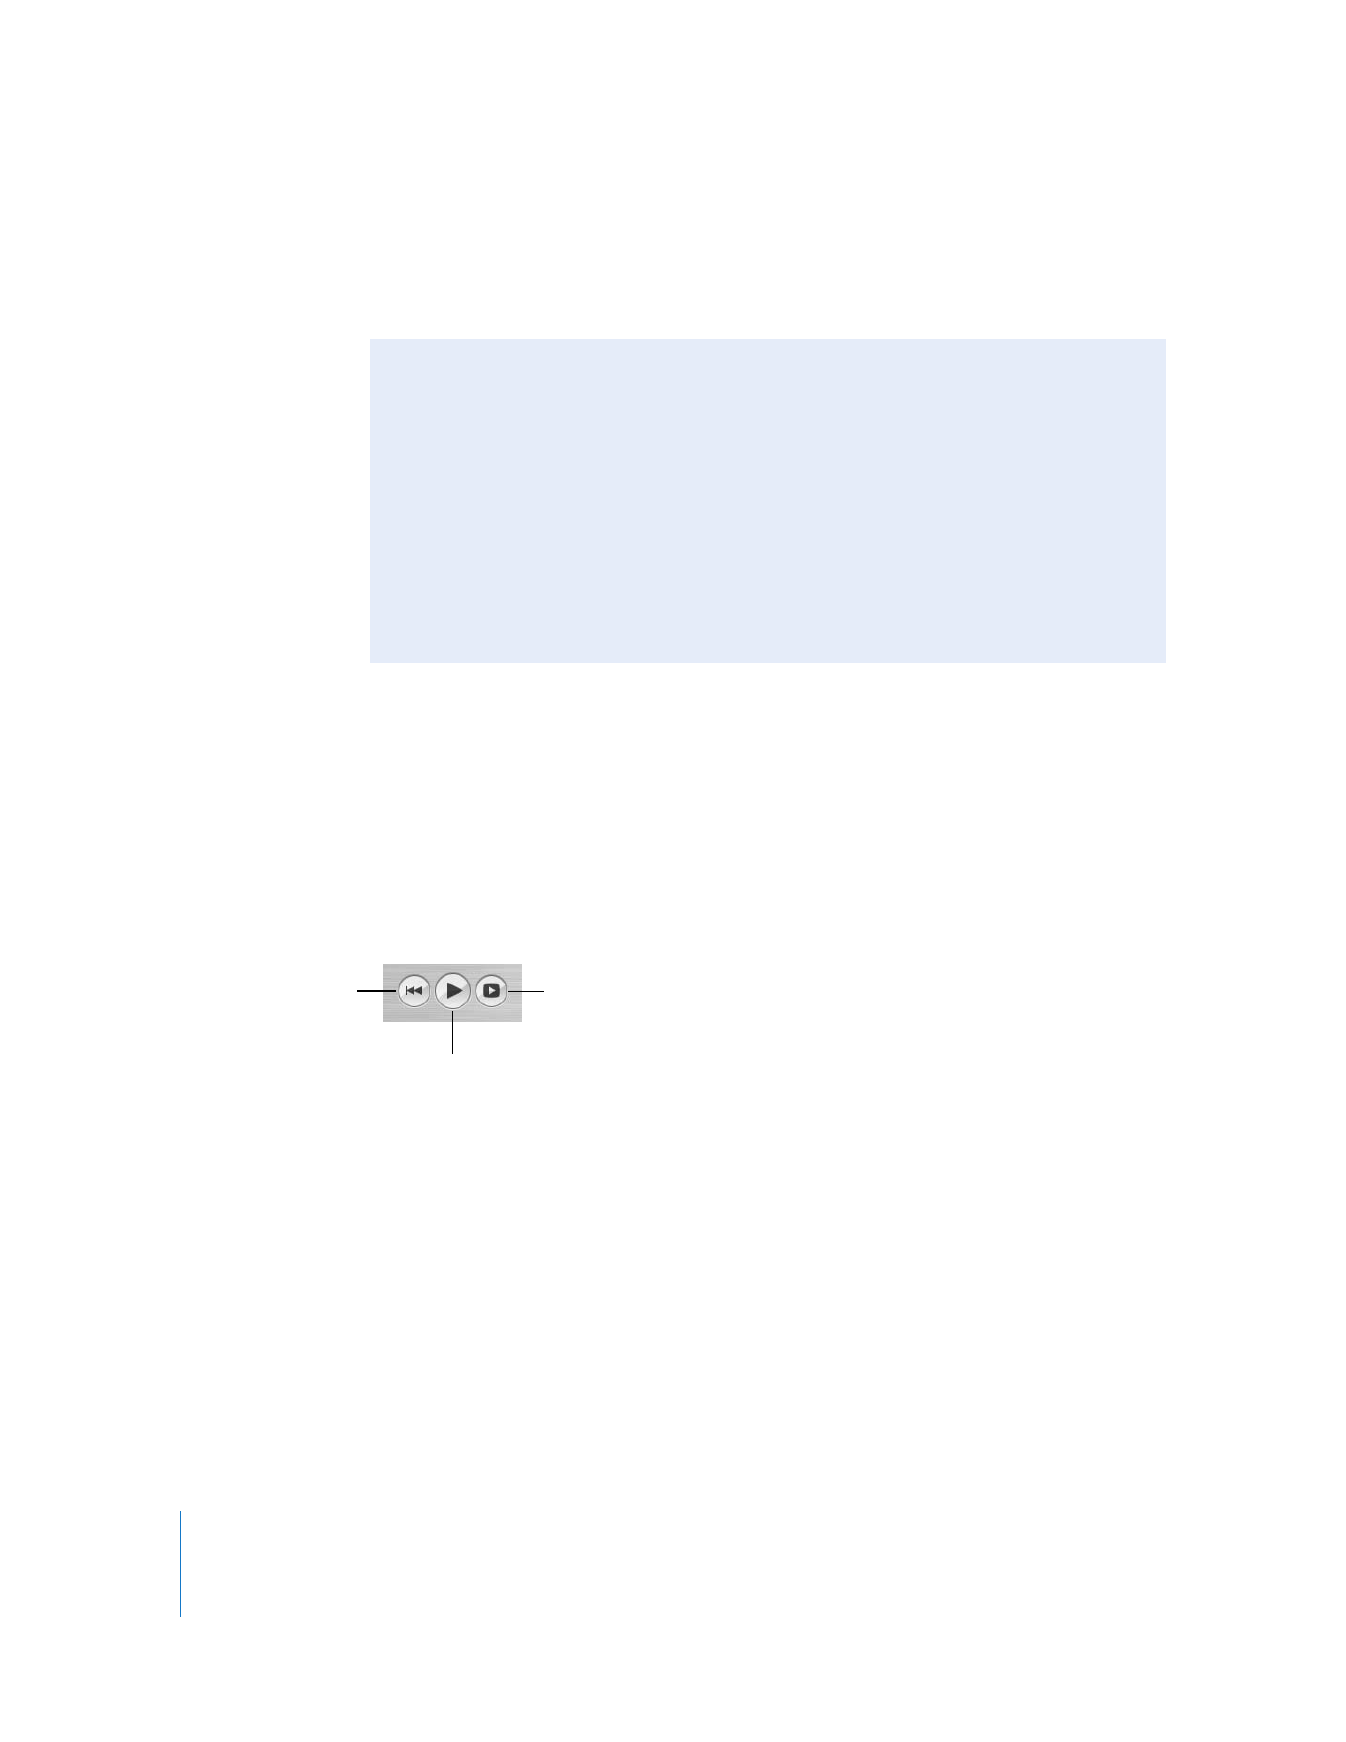
footage. Use the iMovie playback controls, shown below, to preview clips.
To play a clip, you can do any of the following:
 Select the clip and click Play in the iMovie playback controls.
 Click Rewind to move to the beginning of your movie or sequence of clips.
 Click Play Full Screen to play the video in full-screen mode. (Click anywhere on the
screen or press the Esc key to return to leave full-screen mode.)
Shots of the floor, blurry action, and unflattering poses can be disposed of right away,
so only the footage you want remains. You may want to delete some clips completely.
Did You Know?—Importing Video From a Flash Device
MPEG-4 camcorders may have a USB connector instead of a FireWire connector.
To transfer video from one of these devices, connect the device to your computer
using the USB port. Your MPEG-4 camera or device appears as a hard disk on your
desktop. You can open the hard disk icon and drag the video footage into your
iMovie HD project or to your desktop for importing later.
When you import footage from an MPEG-4 device, your video is imported as a single
clip, iMovie HD does not break it up into clips automatically. You cannot use the
capture controls to import your video or control your camera, nor can you use the
Magic iMovie feature to import video automatically.
Rewind
Play/Pause
Play Full Screen
Chapter 2
iMovie HD Tutorial
15
To delete a clip:
m
Select the clip, then choose Edit > Cut or press the Delete key.
The clip disappears from the Clips pane. Notice that the iMovie Trash at the bottom of
the window now has something in it—the clip you just cut. It will remain there until
you empty the iMovie Trash.
The remaining clips can be cropped so that only the good parts remain. When you
crop a clip, you select the frames that you want to keep and delete the rest of the clip.
Cropping preserves the middle part of a clip and deletes the beginning and the end.
To crop a clip:
1
Select the clip you want to crop by clicking it in the Clips pane.
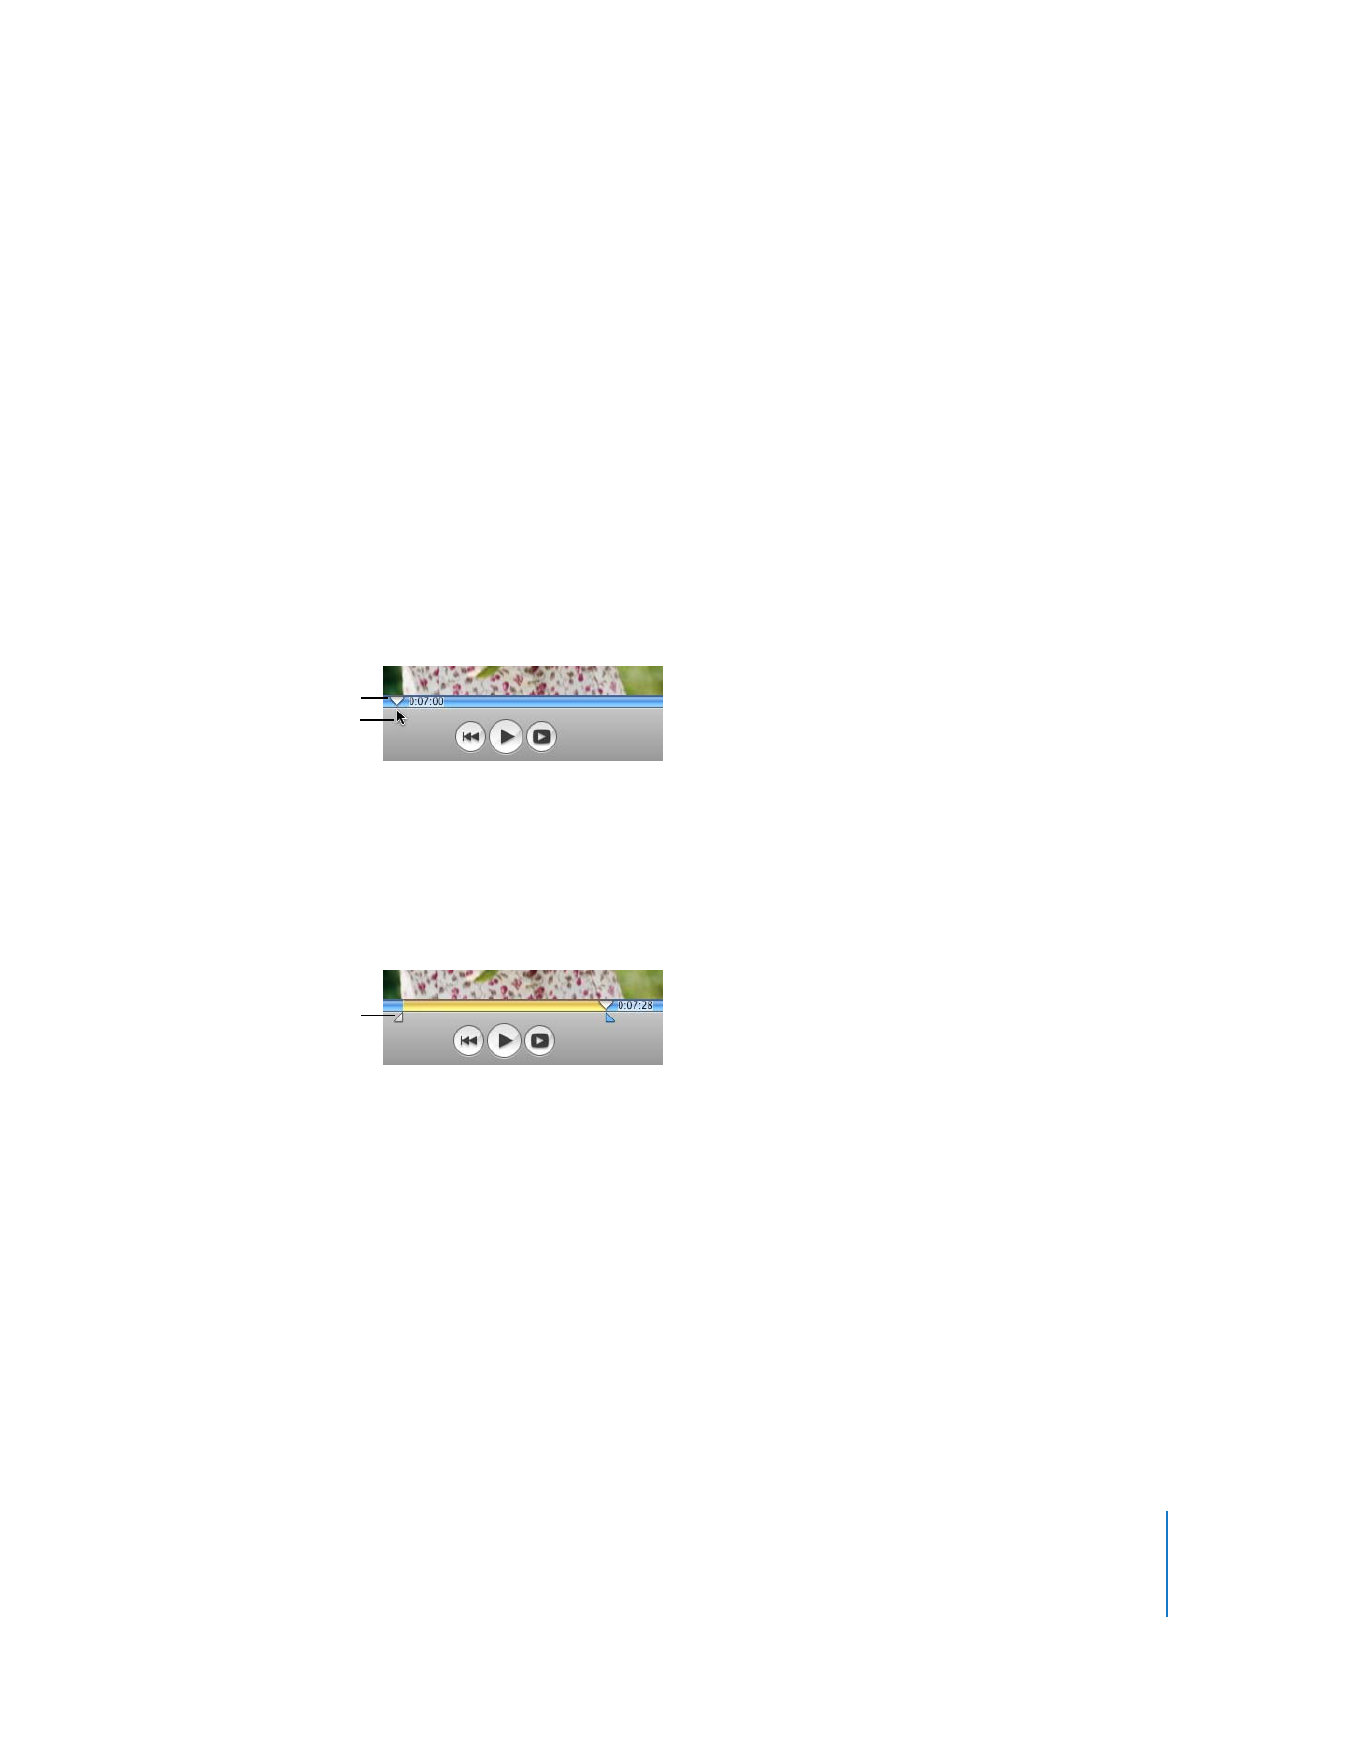
2
Drag the playhead in the scrubber bar below the iMovie monitor (shown below) to
where you want your scene to begin.
3
Place the pointer just below the playhead and then drag to the right to include the
footage you want to keep. (When you move the pointer to the right, the crop markers
appear.)
The gold portion of the scrubber bar (shown below) highlights the footage you’ve
selected.
4
Choose Edit > Crop to keep the portion of video you’ve highlighted and remove the
rest.
∏
Tip: To precisely adjust the position of the crop markers, click a crop marker (shown
above) to select it, and then press the Left or Right Arrow key to move the crop marker
one frame at a time. To move the crop marker in 10-frame increments, hold down the
Shift key while pressing the arrow key.
Playhead
Pointer
Crop marker

16
Chapter 2
iMovie HD Tutorial