
Step Four: Build Your Movie
Now that your video footage is transformed into a collection of cropped video clips,
you can begin to use them to build your movie. In this step, you’ll move the clips in the
Clips pane to the video track in your movie and begin to organize them into a
sequence.
To build your movie, you work in the area below the iMovie monitor. This area has two
views you can work in: the clip viewer and the timeline viewer.
 The clip viewer, shown below, displays clips in the order that they will appear in your
movie, just like video building blocks. It gives you a simple, straightforward view of
the clip sequences and transitions used in your movie. It’s also the easiest view to use
when you want to rearrange clips.
Did You Know?—Undoing an Edit
If you make a mistake or don’t like the changes you’ve made, you can undo them.
 Choose Edit > Undo to remove your last change. Continue choosing Undo to
cancel your previous changes one by one.
 Choose Advanced > “Revert Clip to Original” to undo all of the changes made to a
selected clip.
 Choose File > “Revert to Saved” to undo all of the changes made to a project since
the last time you saved it.
Chapter 2
iMovie HD Tutorial
17
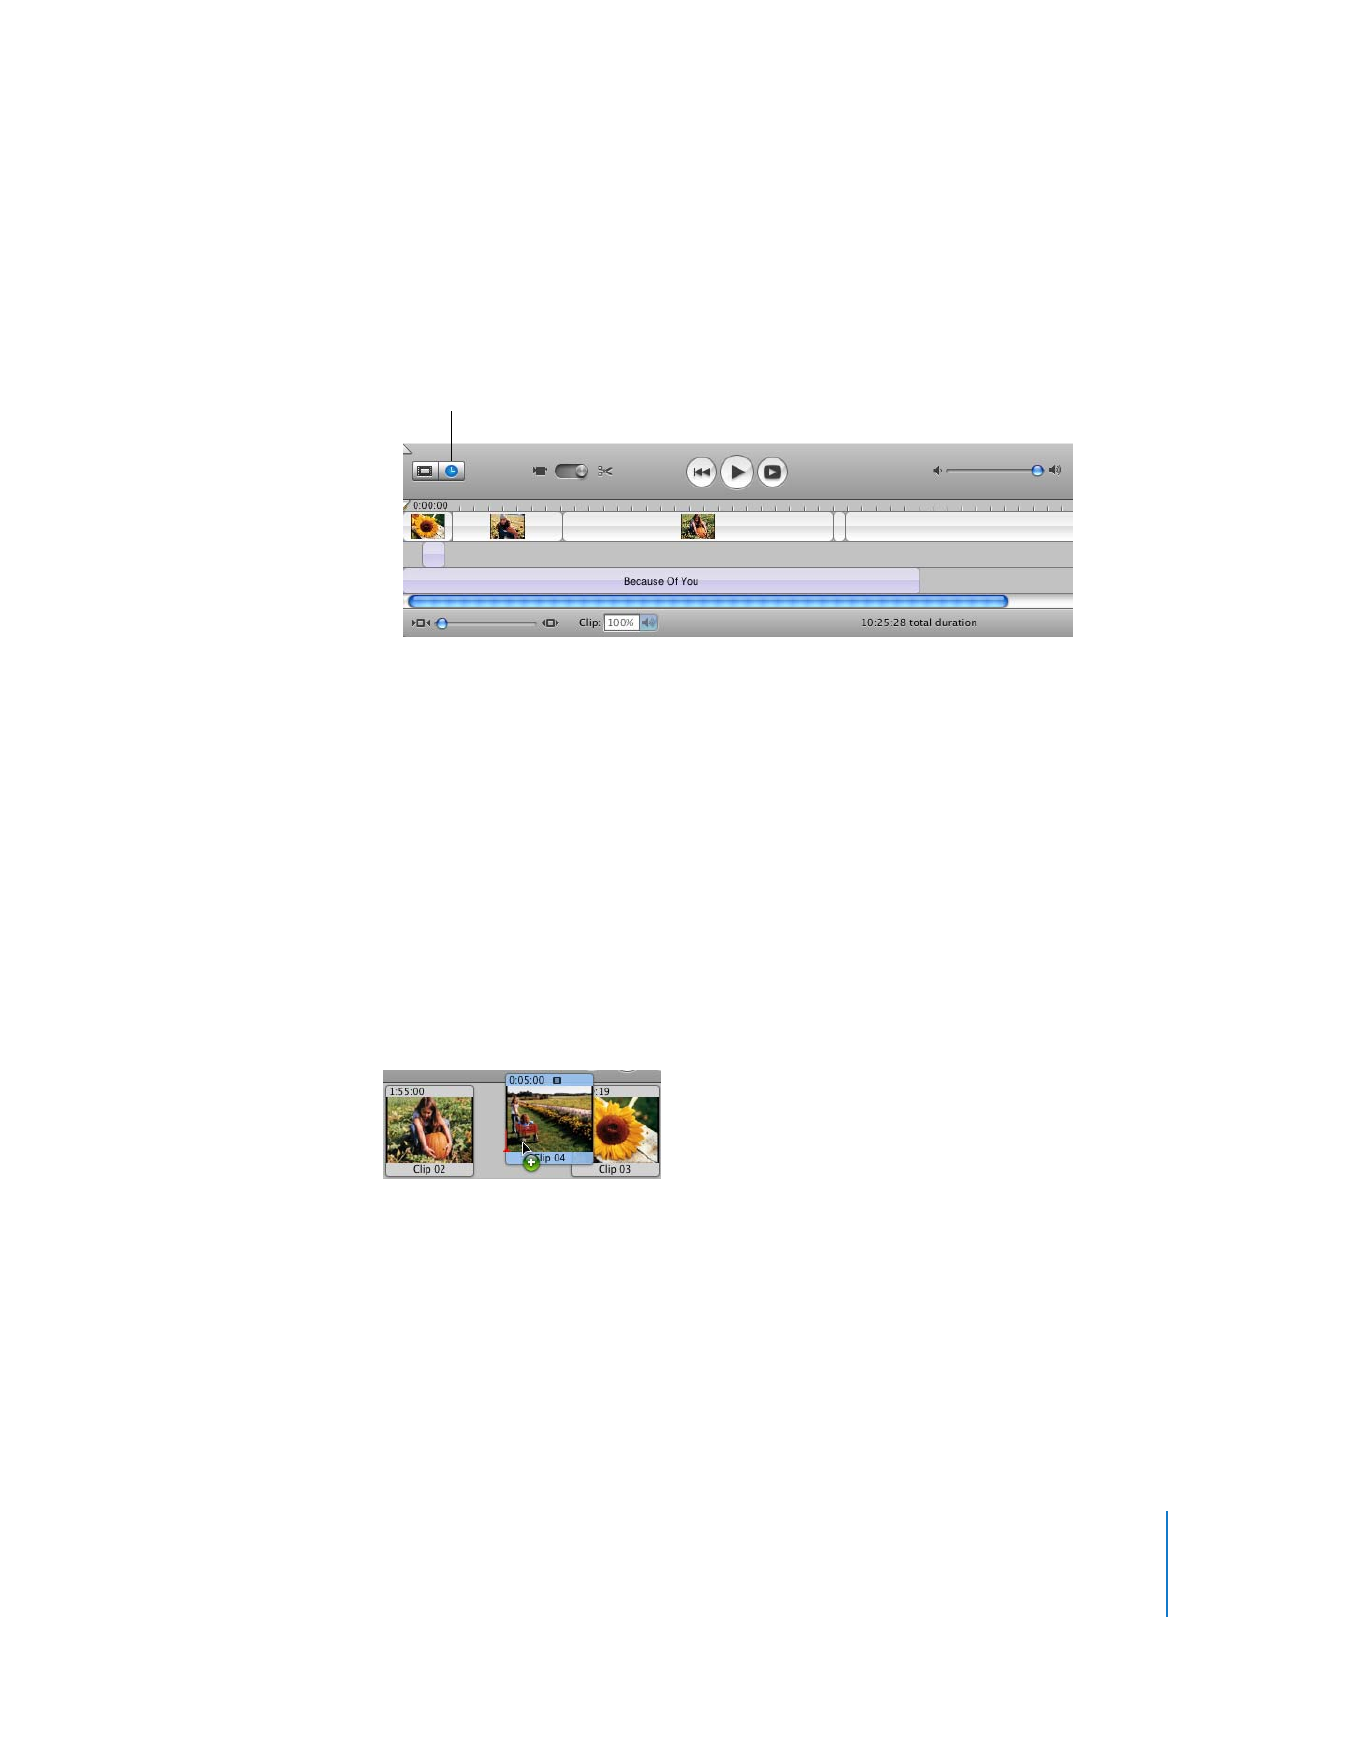
 The timeline viewer, shown below, displays the elements of your movie in more
detail, letting you zoom in on sections of the movie. It also displays the movie’s video
track and two audio tracks. The three tracks allow you to add and manipulate
multiple layers of sound, including the sound contained in the video clips. Use the
timeline viewer for precise video and audio editing.
When you build a movie from clips in the Clips pane, you’ll find it easier to start by
working in the clip viewer.
To add clips to your movie:
1
Click the clip viewer button below the iMovie monitor.
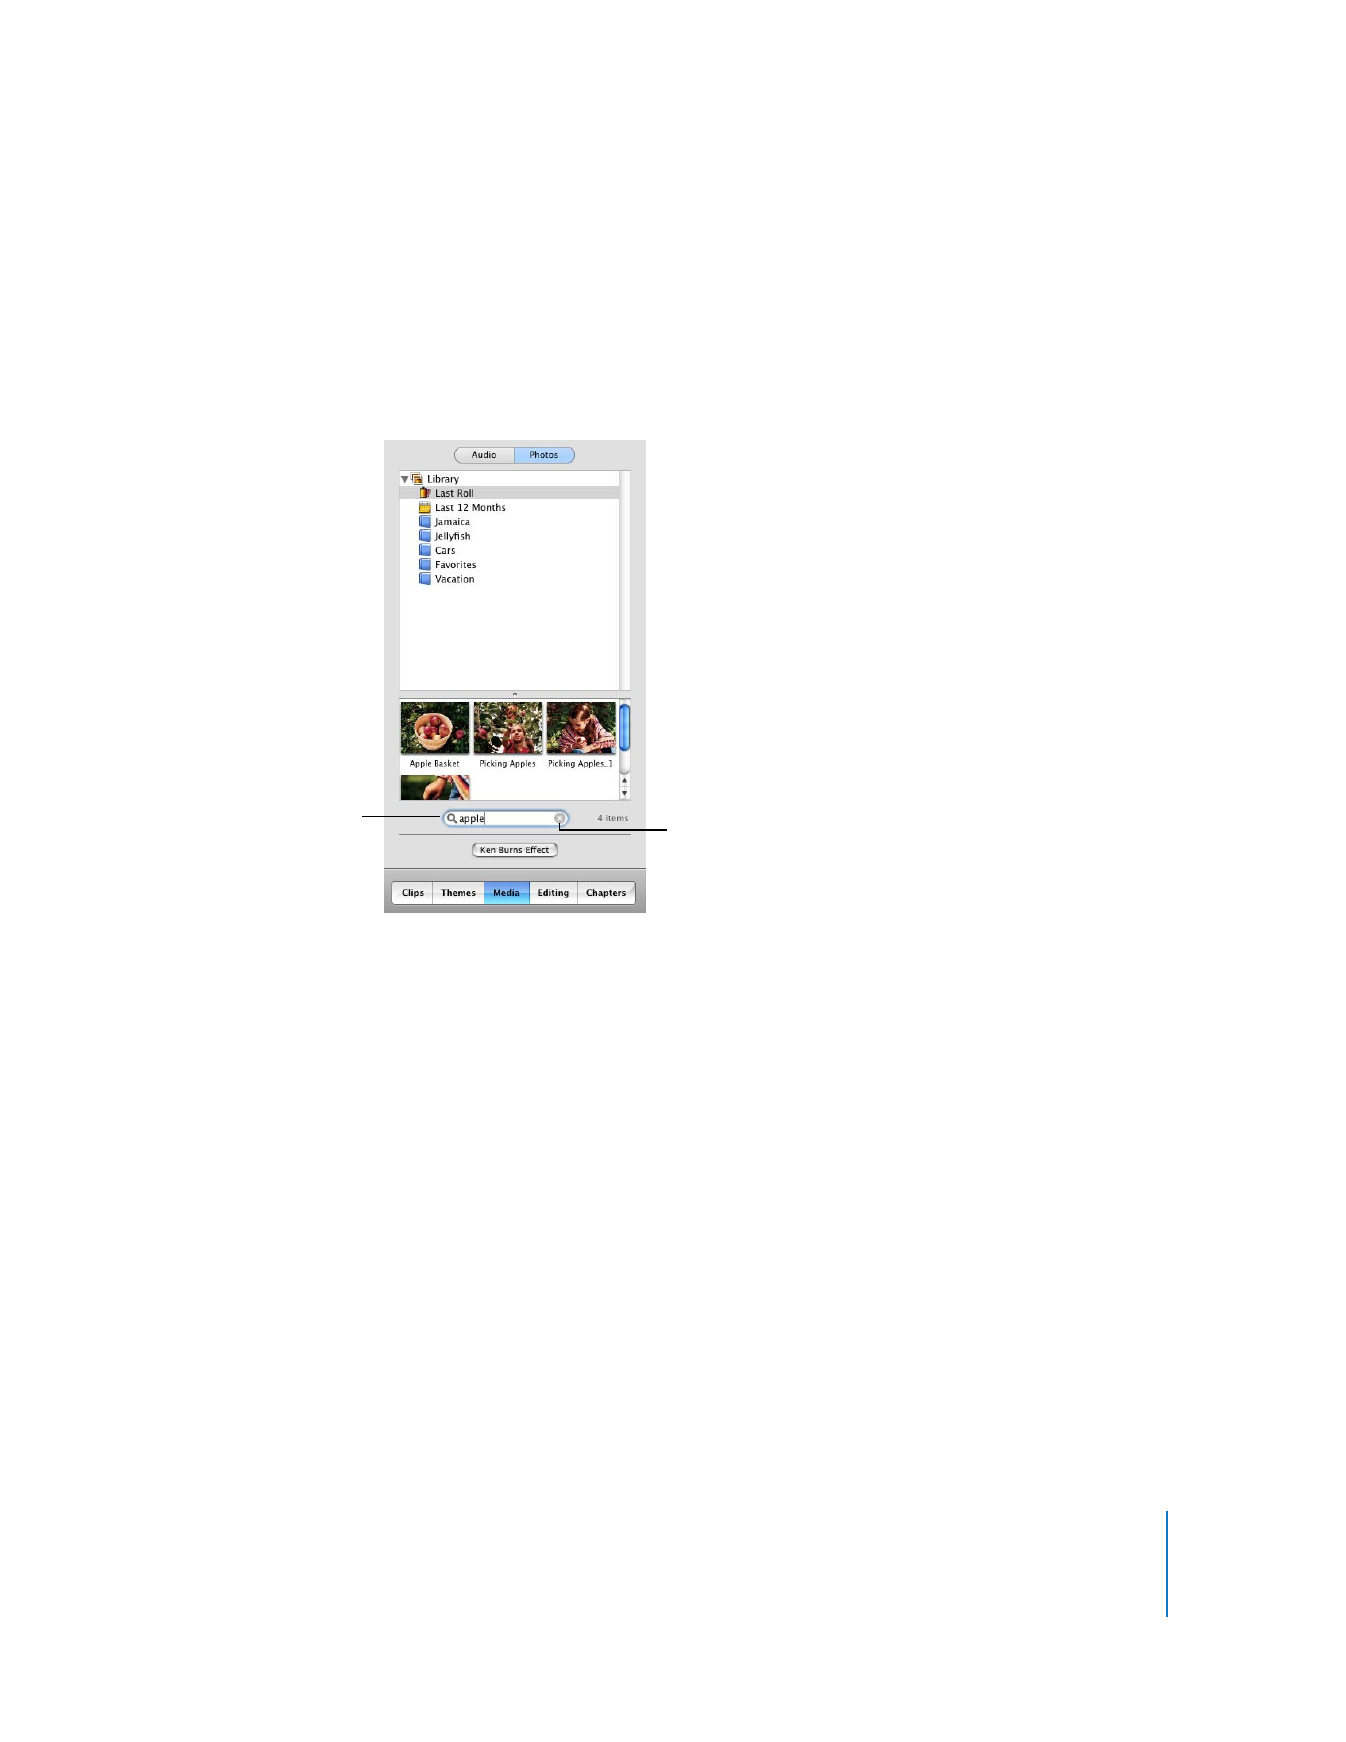
2
Select a clip in the Clips pane and drag it to the clip viewer.
3
Repeat step 2 for all the clips you want to add.
You can drag clips between other clips, placing them in the order you want. As you
drag a clip in front of or behind other clips, they move aside to make room, as shown in
the illustration below.
4
Drag clips in the clip viewer to rearrange them into the order you want.
5
Choose File > Save Project to save your movie project.
Timeline viewer button

18
Chapter 2
iMovie HD Tutorial
Did You Know?—Saving While Building Your Movie
It’s a good idea to save your work periodically as you make changes. Because
iMovie HD saves your original footage even after cropping, you can still retrieve
cropped footage after you save.
To save your project:
m
Choose File > Save Project.
At times you may want to go back to the last saved version of your project, canceling
any unsaved changes.
To revert to the last saved version of your project:
m
Choose File > “Revert to Saved.”
You can also save a copy of your project and give it a different name. You can then
create a different version of the movie or use parts of the movie in a new project.
Saving multiple copies of a project can be extremely useful, but can also use large
amounts of disk space.
To save a copy of your project with a different name:
m
Choose File > Save Project As.
Then enter a name, choose a location for the copy of the project, and then click Save.
Chapter 2
iMovie HD Tutorial
19