Step Five: Add Photos to Your Movie
iMovie HD lets you easily add photos from your iPhoto library to your movie. You can
add photos as still shots that linger for as long as you like, or you can pan and zoom in
or out with the “Ken Burns Effect.” In this step, you’ll add still photos to your movie and
apply the Ken Burns Effect to others. Use the Media pane, shown below, to select
photos and add motion to them.
Note: To see photos in the Media pane, you must have iPhoto installed, and you must
have at least one photo in your iPhoto library.
To add a still photo to your movie:
1
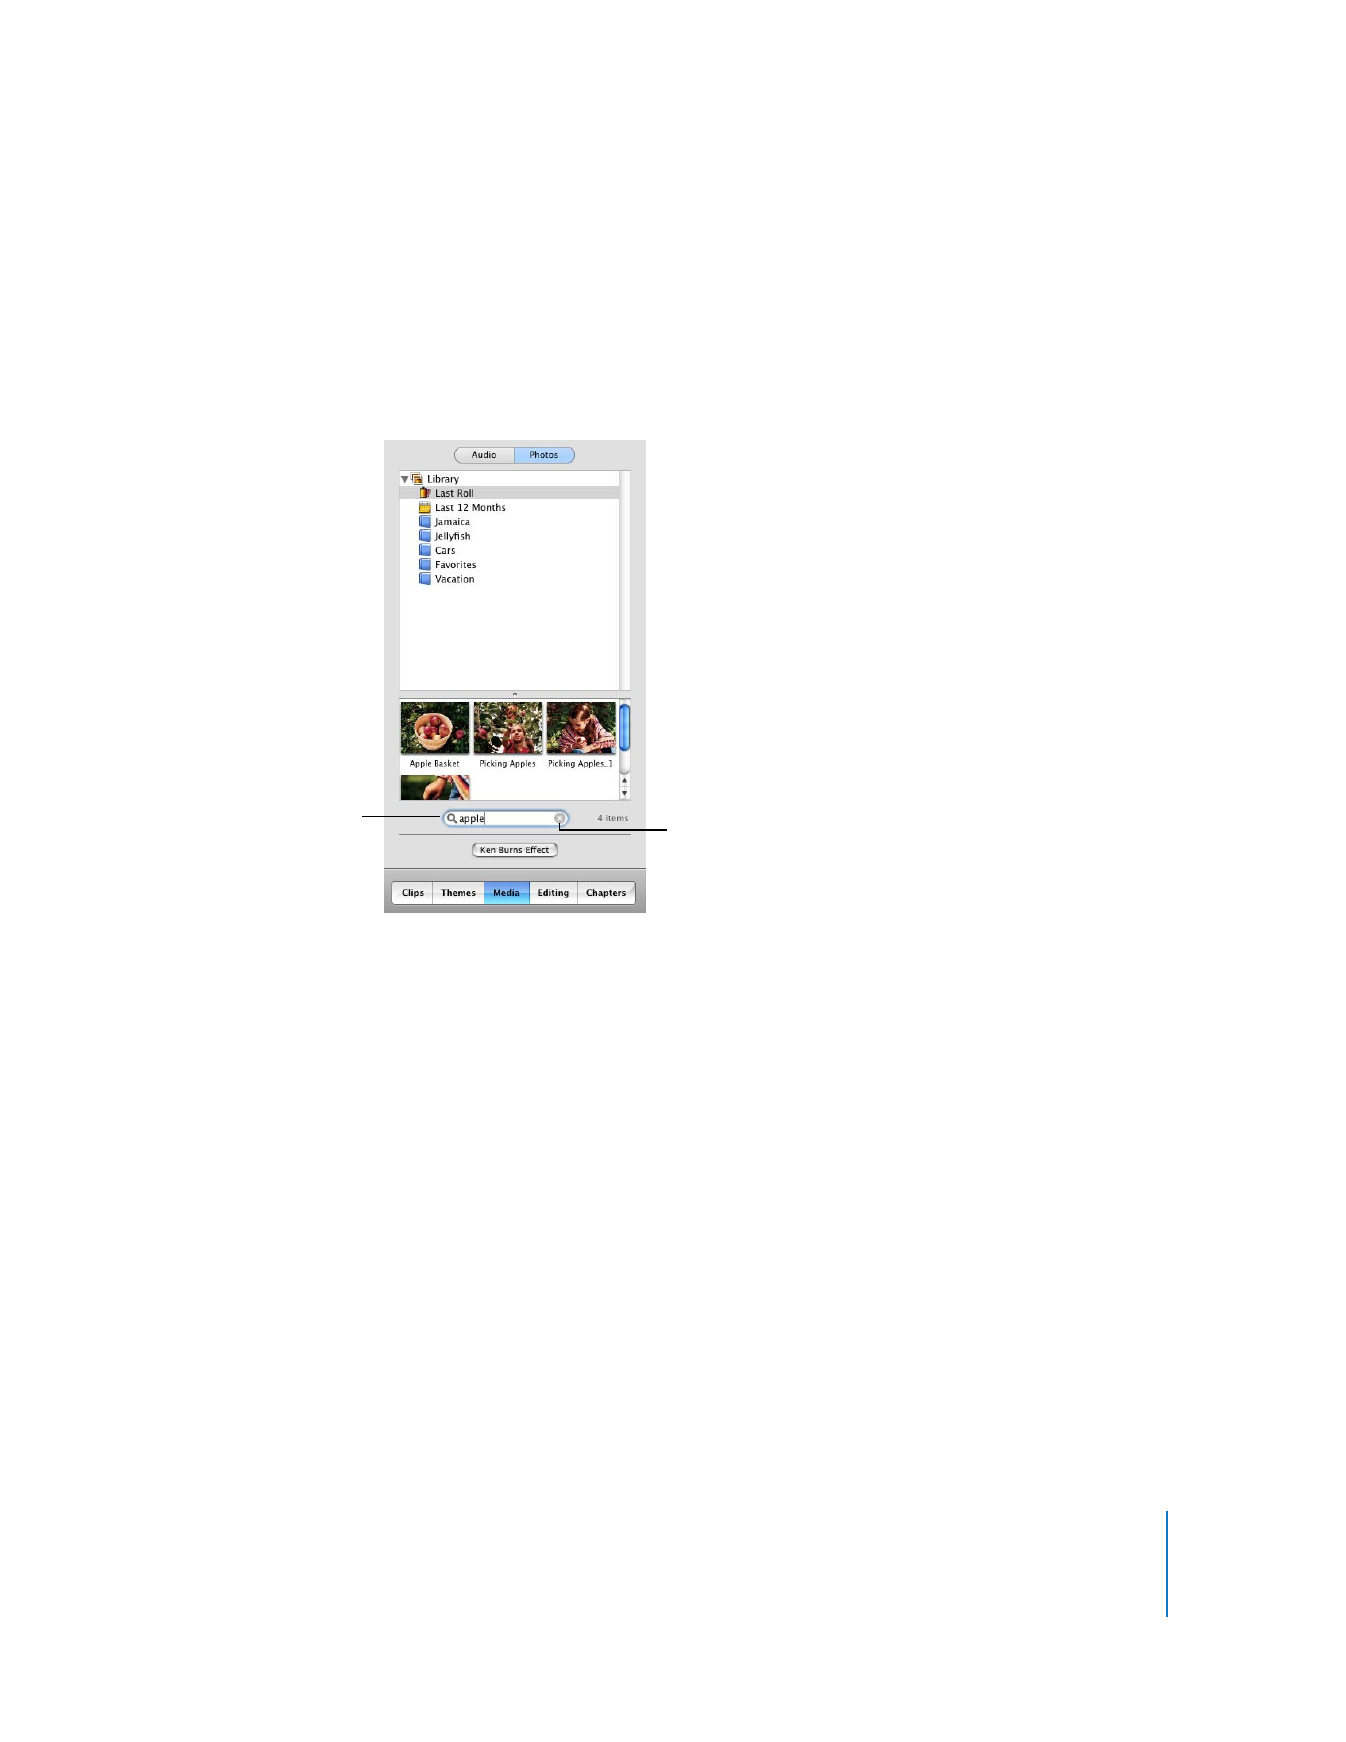
Click the Media button, and then click Photos at the top of the Media pane.
2
Select your entire iPhoto library, an album, or a folder in the list. The photos in the
selected item appear at the bottom of the pane. You can scroll through the photos to
find the ones you want.
∏
Tip: You can also search for a photo by typing text in the search field (shown above).
As you type, photos that contain the text you entered appear in the Media pane. To see
all photos again, click the Reset button (an “x” in the search field).
3
Select the photo you want to add to your movie.
Search box
Reset button

20
Chapter 2
iMovie HD Tutorial
The Photo Settings window (shown below) appears. You can drag the Photo Settings
window anywhere on your computer screen to move it out of the way.
4
Click the Ken Burns Effect checkbox to deselect it and turn off motion for the photo.
5
Drag the duration slider to change the display duration for your photo.
When you add a photo to your movie, iMovie automatically sets it to appear for 5
seconds unless you change it.
6
Drag the photo from the Media pane to the clip viewer. If you want to place the photo
at the end of your movie, you can also click the Apply button.
∏
Tip: To select several photos at once, press the Command key as you select photos.
You can also drag an entire album to add all the photos in the album.
If you’d like to add some motion to the photos in your movie, you can use the Ken
Burns Effect to pan and zoom. Panning makes the camera appear to sweep across the
face of the photo. Zooming makes a photo appear as if the camera is moving in to or
away from the photo, adding interesting movement to still shots.
To zoom a photo:
1
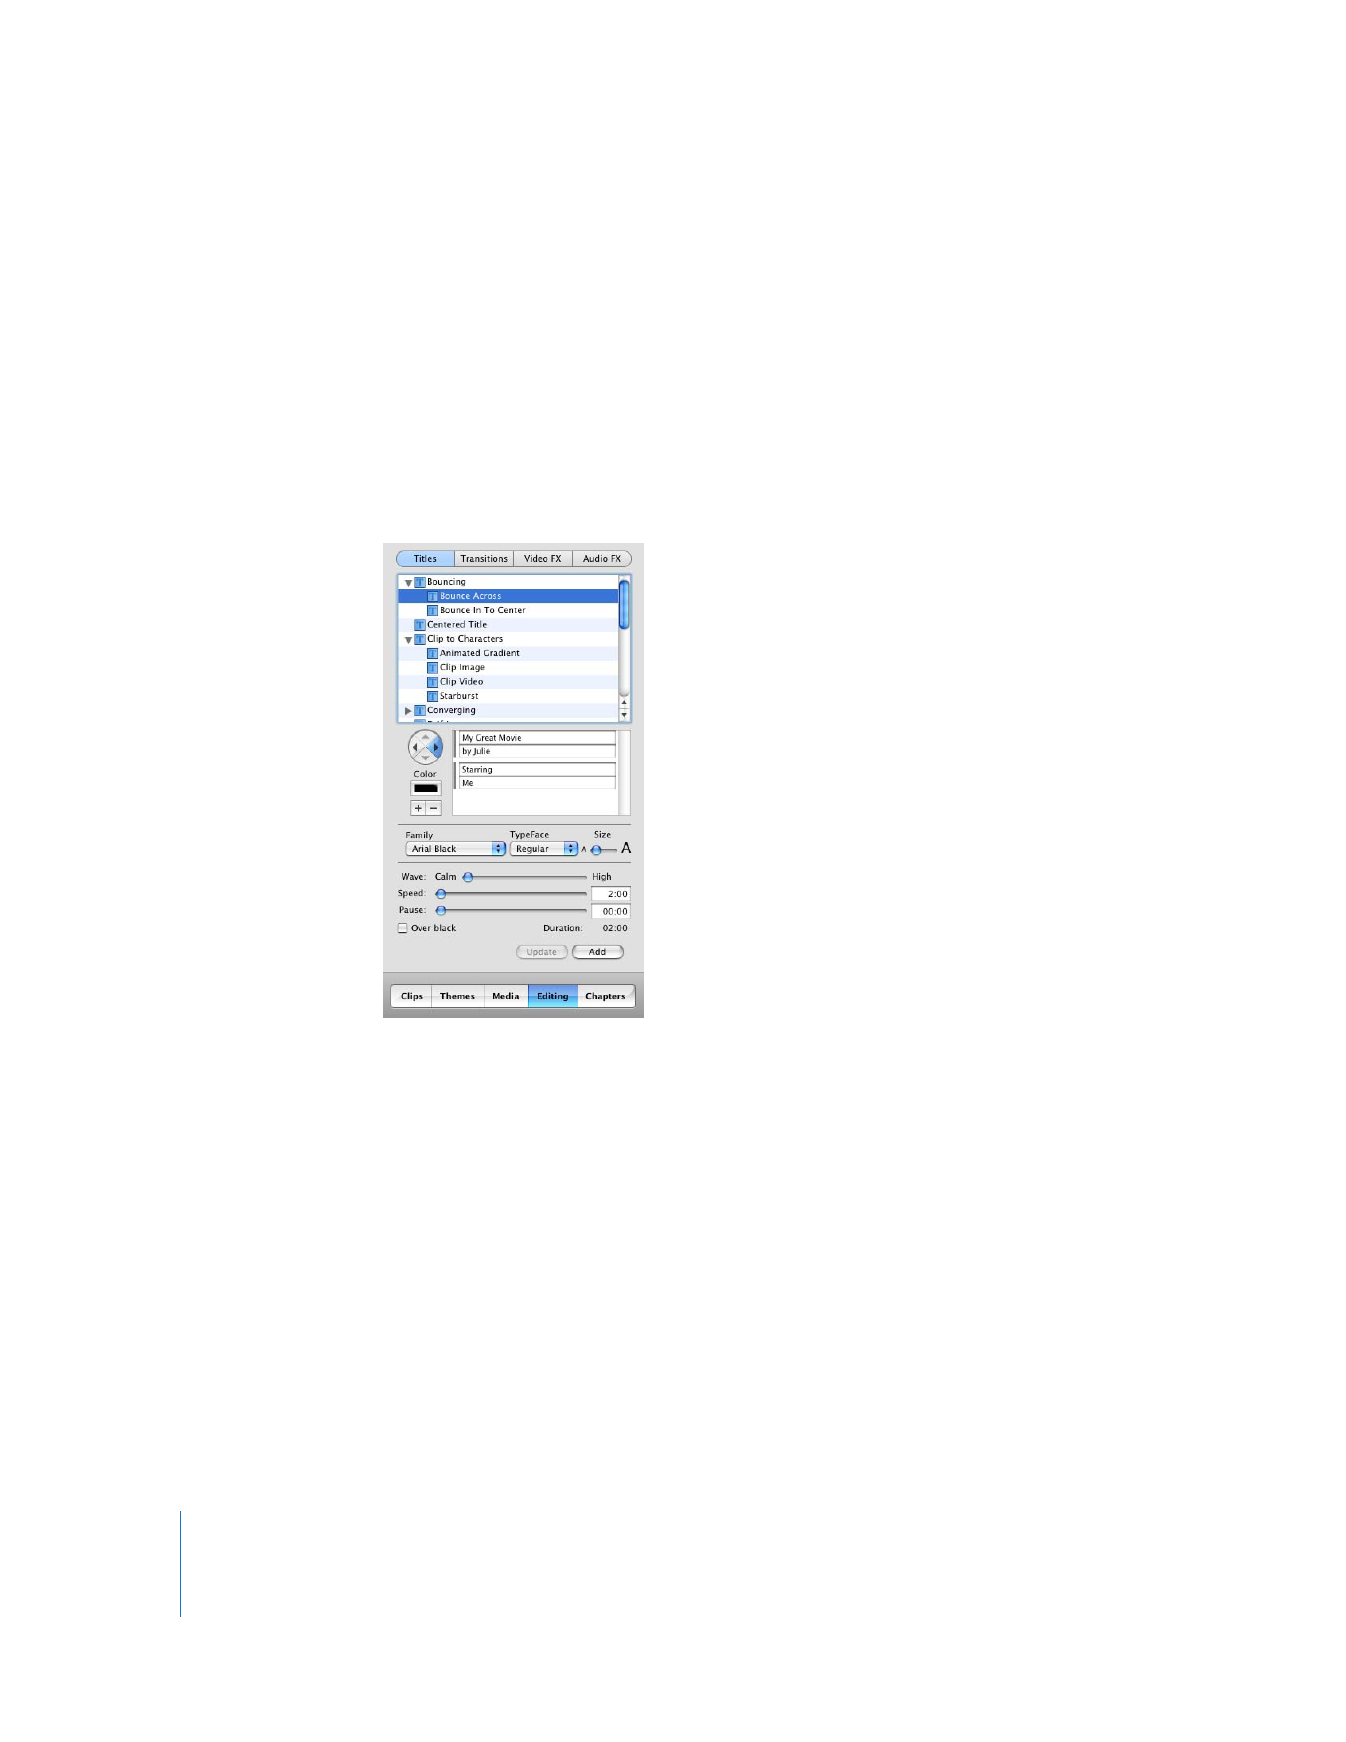
In the Photo Settings window, select the Ken Burns Effect checkbox.
2
Select a photo in your iPhoto library and click Start.
3
Move the zoom slider to the left or right until you find the point where you want to
begin the zoom.
4
Click End.
5
Move the zoom slider until you see where you want to end the zoom.
6
Move the duration slider to set the length of time you want the zoom to take.
7
Click Apply when the effect looks the way you want.
The photo appears as a clip at the end of your movie. You can drag the clip to where
you want it to appear.
Duration slider
Zoom slider

Chapter 2
iMovie HD Tutorial
21
To pan a photo:
1
Select a photo in your movie or in the Media pane.
2
In the Photo Settings window, select the Ken Burns Effect checkbox.
3
Click Start.
4
Click the image in the iMovie monitor, then press the mouse button and drag the
image until you see the place in the image where you want to begin the pan.
5
Click End.
6
Drag the image to where you want to end the pan.
7
Move the duration slider to set the length of time you want the pan to take.
8
Click Play to see how the effect looks. Repeat the steps above, if necessary.
9
Click Apply when the effect looks the way you want.
The photo appears as a clip at the end of your movie. You can drag the clip to where
you want it to appear.
Pan control
Did You Know?—Using Pan and Zoom Together
You can use pan and zoom together to draw attention to something in your
photograph, such as one member in a group photo. If your photo is not large
enough to use a pan effect, you can zoom in at the start to give you a larger area to
work with.
For more information about using the Ken Burns Effect, see iMovie HD Help.
22
Chapter 2
iMovie HD Tutorial