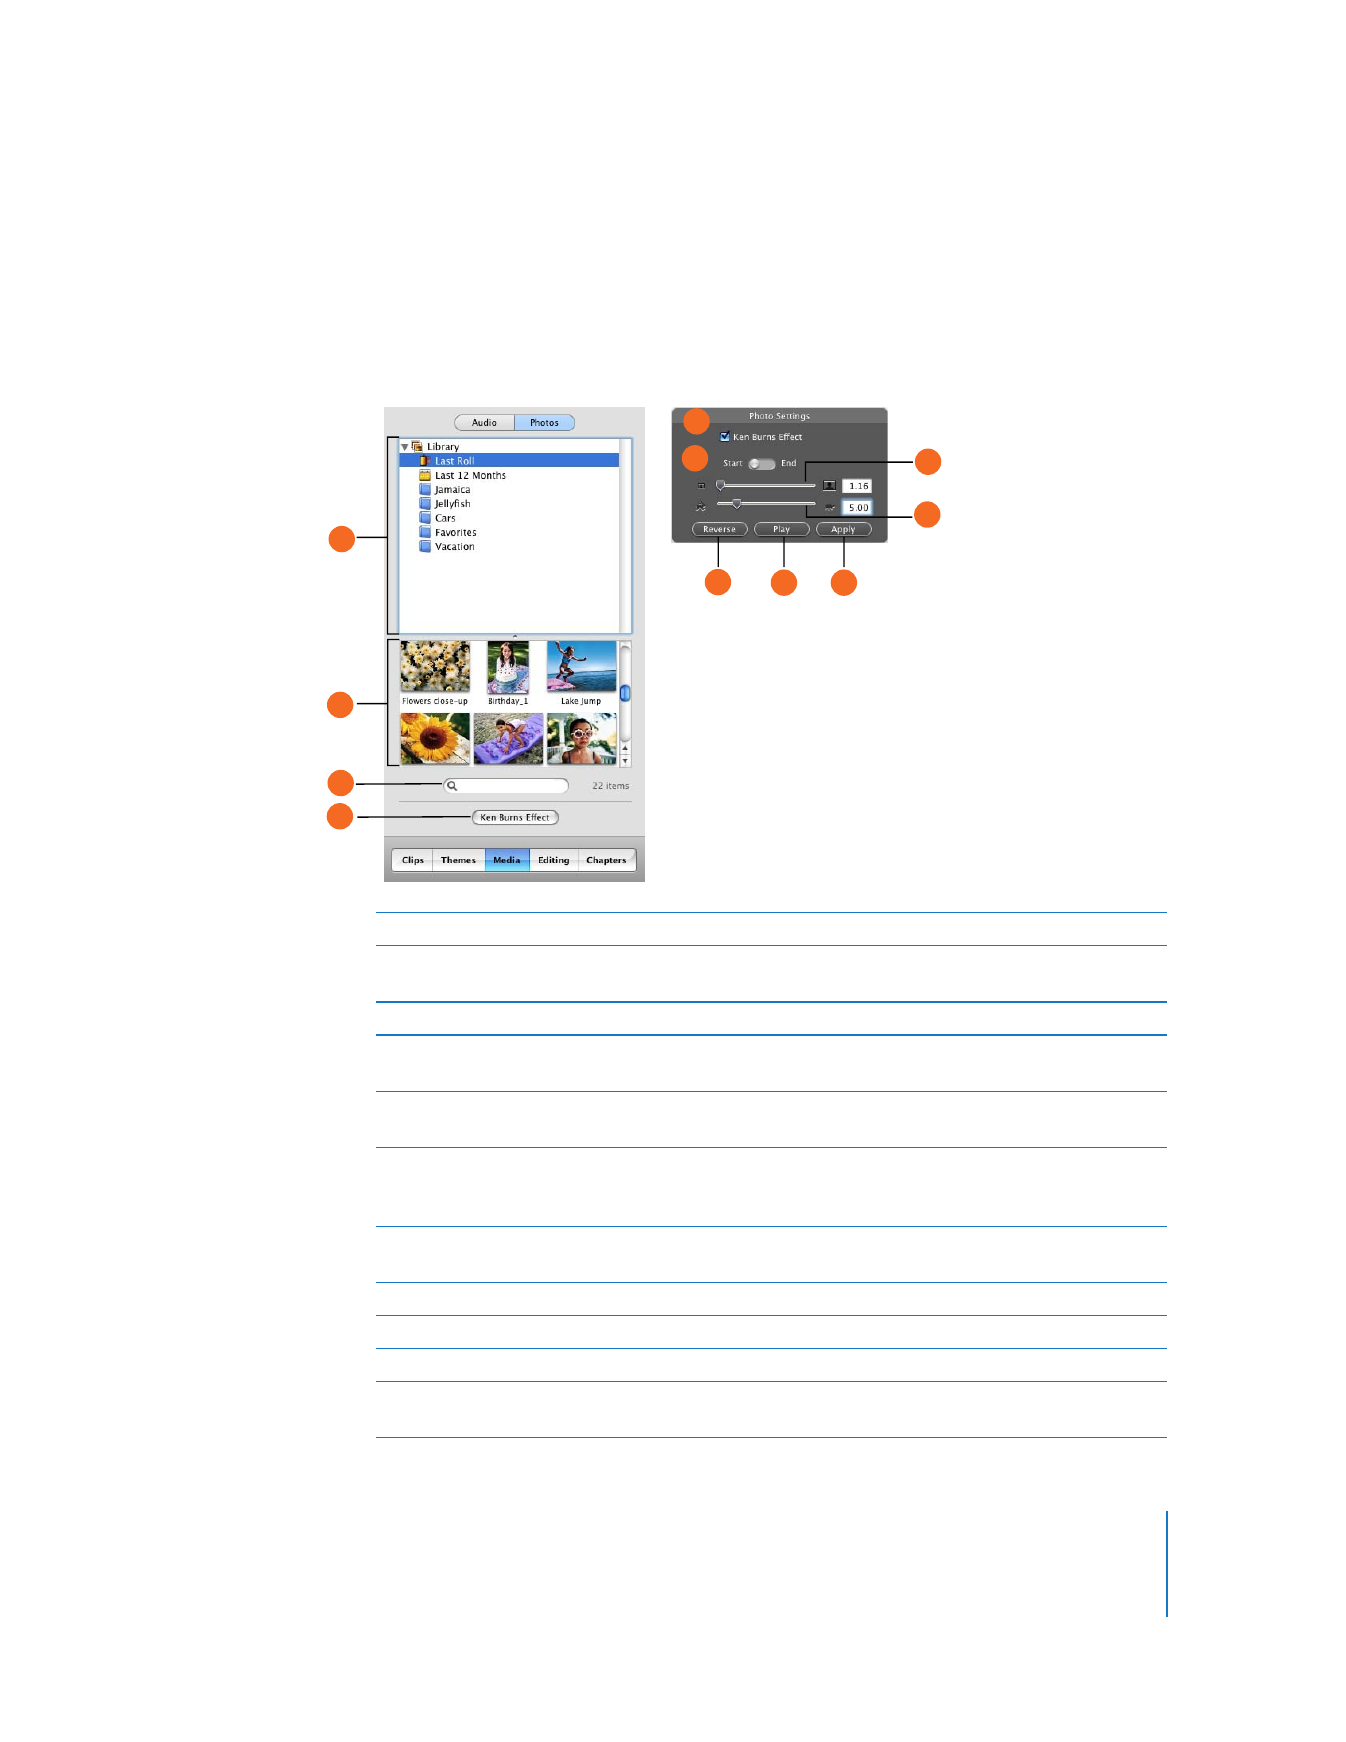
Photos
Images in your iPhoto library automatically appear in this pane. Use the Photo Settings
window to add motion to your still images using the Ken Burns Effect. Click the Photos
button at the top of the Media pane to see the Photos window. When you select an
image, the Photo Settings window appears.
A
Source list: Select your iPhoto library or an iPhoto album in this list to see its contents.
B
Images list: Select images in the list to add to your movie. You can select single images or an
entire photo album and drag it to the clip viewer or timeline.
C
Search field: Type the name of a photo or image here to quickly locate it.
D
Ken Burns Effect button: Click to open the Photo Settings window, where you can add motion
to images.
E
Photo Settings: Use these controls to set up panning and zooming effects for your images.
Select or deselect the Ken Burns Effect checkbox to turn motion on or off.
F
Start and End Control: Click Start and set how the image should first appear. Then click End and
set how the image should appear at the end of the effect. This control is not visible if the Ken
Burns Effect checkbox is deselected.
G
Zoom slider: Move the slider to make images larger or smaller for cropping or setting up pan
and zoom effects.
H
Duration slider: Move the slider to set how many seconds the image remains in view.
I
Reverse button: Click to reverse the direction of the Ken Burns Effect.
J
Play/Pause button: See a preview of the effect in the iMovie monitor.
K
Apply button: Apply the effect to the photo. This creates a new clip in the Clips pane that you
can drag to the location you want in your movie.
B
A
C
D
E
H
F
G
I
J
K
42
Chapter 3
iMovie HD at a Glance